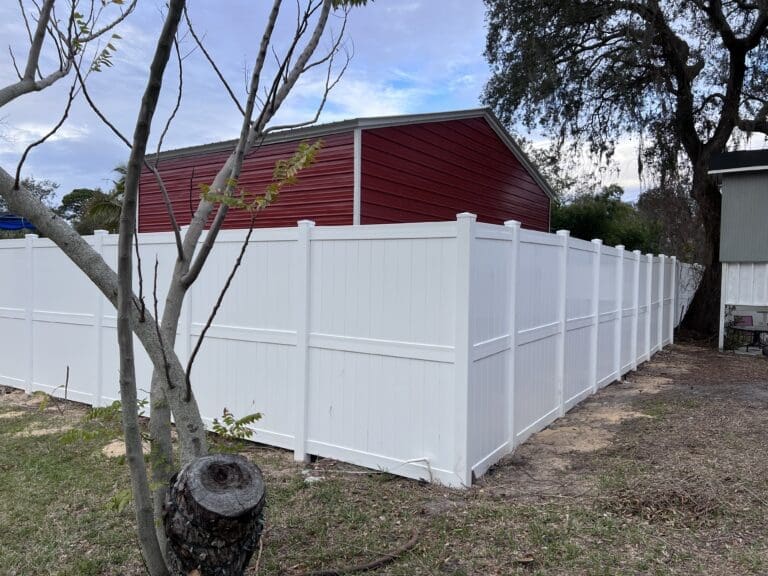
How to Fix a Leaning Fence: Complete DIY Guide
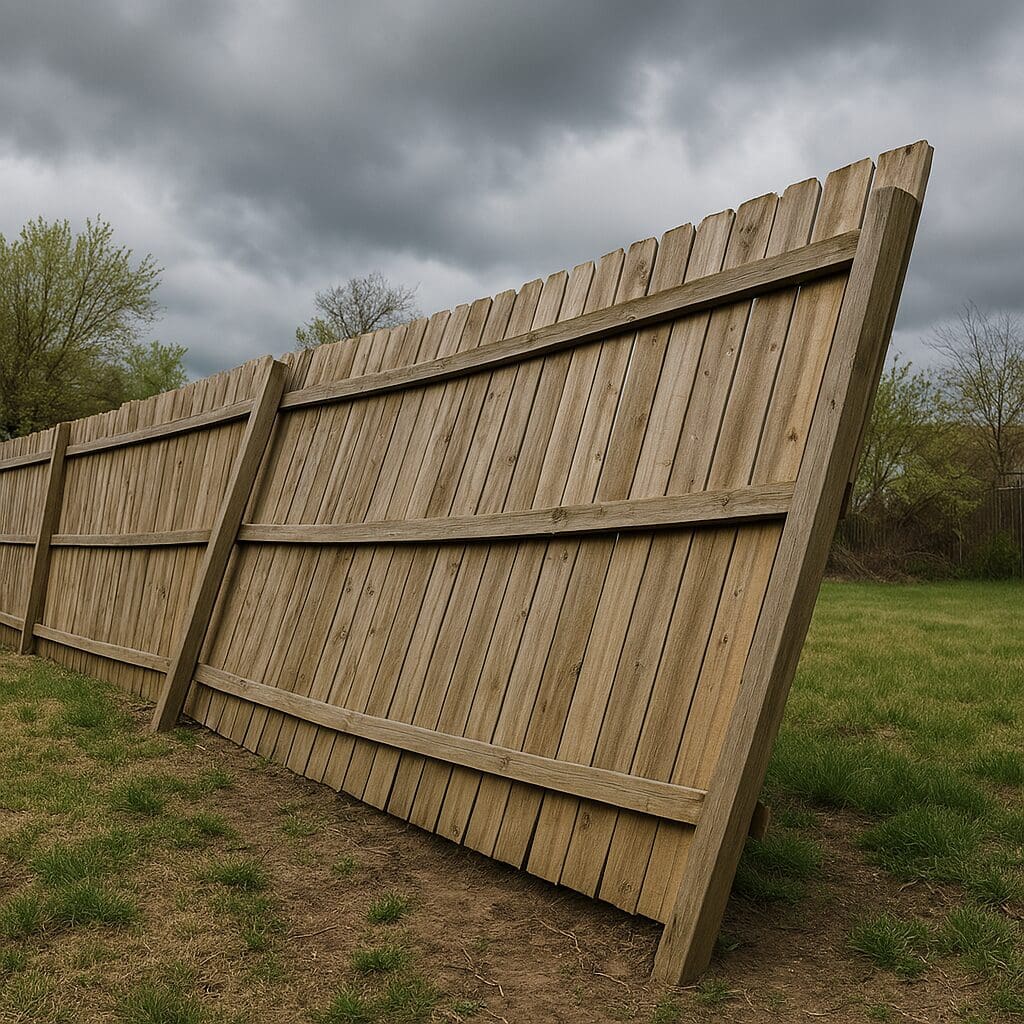
A leaning fence isn’t just an eyesore—it’s a warning sign of bigger problems to come. We’ve seen countless fences go from slightly tilted to completely toppled during Florida’s stormy seasons.
Fixing your leaning fence might seem intimidating, but with the right approach, it’s totally doable as a weekend project. Most homeowners can handle this repair themselves with basic tools and materials.
Let’s get that fence standing straight again.
Common Causes of Leaning Fences
Fences don’t just lean for no reason. Understanding why your fence is leaning helps you fix it properly.
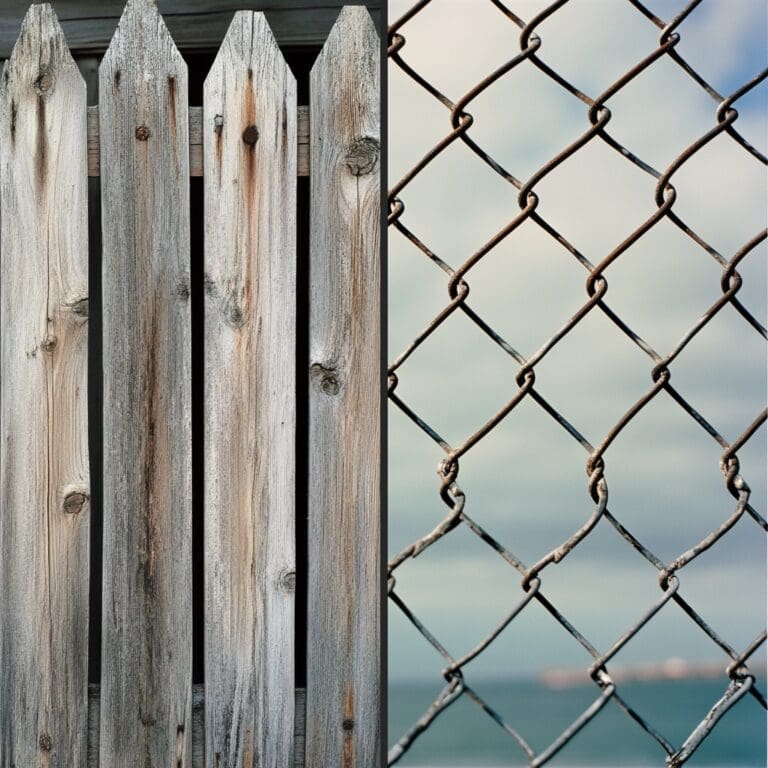
Rotting fence posts are probably the most common culprit we encounter. Wood posts eventually break down when exposed to moisture for years.
Shifting soil can destabilize even the sturdiest fence. This happens a lot in areas with clay soil or places that experience frequent flooding. We see this often in Spring Hill properties where unstable soil and storm damage lead to leaning fences and premature failure.
Poor installation might be the original problem. When fence posts aren’t set deep enough (typically less than 2 feet) or with inadequate concrete, they’re more likely to lean.
Weather damage from strong winds and heavy rain gradually weakens fence structures. Florida’s hurricane season can be particularly rough on fencing.
Tools You’ll Need
Gathering the right tools before starting makes fence repair much smoother:
- Post hole digger or shovel
- Level (4-foot recommended)
- Measuring tape
- Hammer
- Drill with bits
- Saw (circular or hand)
- Wheelbarrow for mixing concrete
- Braces (2×4 boards work well)
- Concrete mix
- Gravel for drainage
- Replacement lumber as needed
- Wood preservative
- Screws and nails
How to Fix a Leaning Fence: Step-by-Step
1. Assess the Damage
First, figure out exactly what’s causing your fence to lean. We always check these key areas.
Examine the posts carefully, especially where they meet the ground. Probe wood posts with a screwdriver—if it easily penetrates, you’ve got rot.
Look at the soil around the fence. Erosion or poor drainage often contributes to leaning.
Check connections between posts, rails, and panels. Sometimes tightening a few screws is all you need.
2. Temporary Bracing
Before making permanent repairs, stabilize your fence to prevent further leaning.
Attach 2×4 boards diagonally from the leaning post to the ground on the opposite side of the lean. This creates a temporary support system.
Secure braces firmly using screws or stakes. They should hold the fence in position while you work.
3. Fixing Rotted Posts
If rot is your problem, you’ve got two options.
Option 1: Reinforce the existing post
This works for minor rot that hasn’t compromised the entire post:
- Dig around the base of the post to expose the rotted section
- Remove rotted wood with a chisel or saw
- Treat remaining wood with preservative
- Attach “sister” supports (pressure-treated 2×4s) to both sides of the weakened post
- Secure with galvanized bolts or screws
- Backfill with gravel and soil
Option 2: Replace the post completely
For severely rotted posts, replacement is necessary:
- Remove fence panels or boards connected to the post
- Dig around the post to expose concrete footer (if present)
- Remove old post and concrete
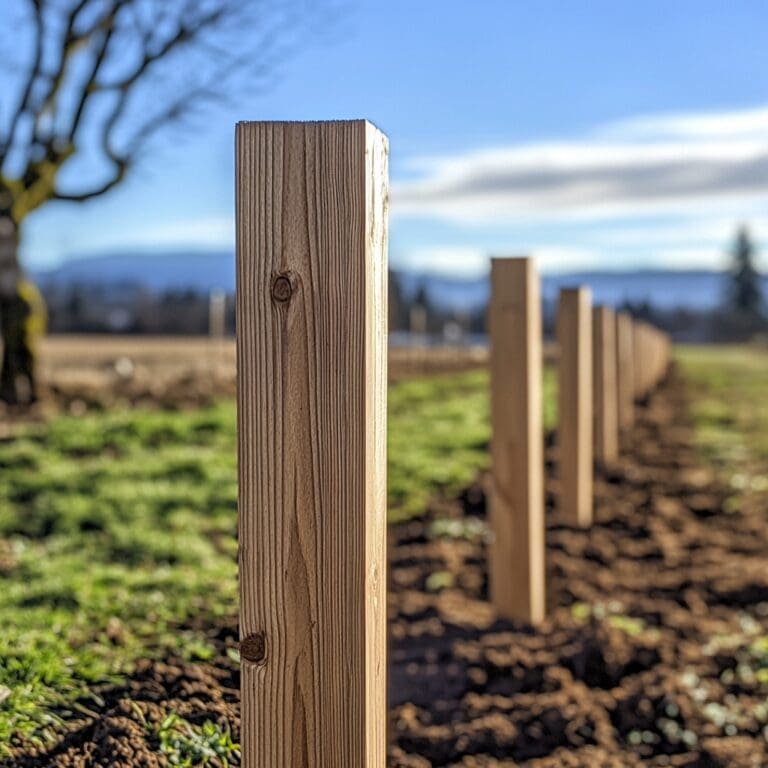
- Dig hole to proper depth (typically 1/3 of post length, minimum 2 feet)
- Add 4-6 inches of gravel for drainage
- Position new post, checking for plumb with level
- Mix concrete according to package directions
- Pour concrete around post, sloping away from wood for drainage
- Allow concrete to cure (at least 24 hours, ideally 72)
- Reattach fence panels or boards
If multiple posts are affected or the structure is aging out, it might be time to consider installing a new wood fence instead of piecing it back together.
4. Addressing Soil Issues
Sometimes the soil itself is the problem.
For erosion issues, add soil to low areas and create better drainage away from the fence. Consider landscape fabric to prevent future erosion.
In areas with constantly wet soil, improve drainage by adding gravel around posts and creating subtle slopes away from the fence line.
For shifting soil from tree roots, you might need to relocate fence sections or install root barriers. Not fun, but sometimes necessary.
5. Straightening Leaning Panels
If your posts are solid but panels are leaning:
- Remove panels from posts
- Check for warping or damage
- Sand down swollen areas if needed
- Reattach using new galvanized screws or nails
- Add additional support brackets if necessary
6. Reinforcing Existing Posts
To strengthen posts without replacing them.
Concrete reinforcement adds stability to posts that are structurally sound but leaning:
- Dig around the base of the post (about 1 foot diameter)
- Create a form using cardboard or plastic
- Mix concrete and pour around post
- Slope concrete away from post for drainage
Steel support brackets can reinforce weak connections:
- Attach metal brackets where posts meet horizontal rails
- Use galvanized screws to secure brackets
- Check alignment with level after installation
According to a study by the University of Kentucky, properly installed fence posts can last 20-35 years when treated correctly and installed with proper drainage.
Preventative Maintenance Tips
Regular maintenance prevents future leaning.
Inspect your fence yearly for signs of damage, especially after storms. Early intervention prevents bigger problems.
Apply wood preservative or stain to wooden fences every 2-3 years. This extends fence life by preventing moisture penetration, which we’ve seen make a huge difference.
Clean your fence periodically to remove debris, mold, and mildew that can accelerate deterioration. A pressure washer on low setting works well for this.
Keep soil levels 1-2 inches below the bottom of fence panels to prevent premature rotting. This small gap improves airflow and reduces moisture contact.
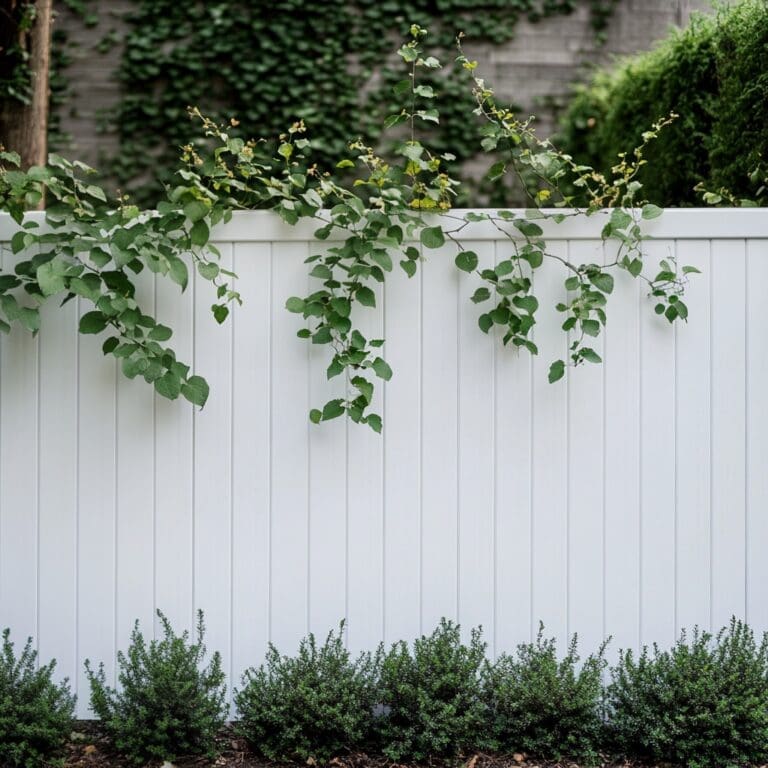
Trim vegetation growing against your fence. Plants hold moisture against the fence and can eventually push it out of alignment, we see this all the time.
For more maintenance tips, check out our guides on cleaning a wood fence and cleaning a vinyl fence.
When to Call a Professional
While many fence repairs are DIY-friendly, some situations warrant professional help.
Multiple leaning posts throughout the fence line might indicate a systematic problem that needs comprehensive repair.
Fences on significant slopes or challenging terrain often require specialized techniques for proper stabilization.
If you’re unsure about utility line locations, professionals can safely navigate underground hazards. Always call 811 before digging!
For property line concerns, having a professional ensure your fence remains on your property can prevent neighbor disputes. Been there, seen that drama.
Cost Considerations
DIY fence repair typically costs between $100-$400 depending on the number of posts needing attention and materials chosen.
Concrete typically costs $5-$10 per bag, with most posts requiring 1-2 bags.
Pressure-treated posts range from $25-$50 depending on size and quality.
Hardware and additional lumber for bracing might add another $50-$100 to your project.
Professional repairs generally start around $250-$500 for basic post replacements, with complete fence rebuilds costing significantly more.
Final Thoughts
A leaning fence doesn’t mean you need a complete replacement. With proper assessment and the right techniques, most fences can be restored to their upright state.
Taking the time to fix your fence properly improves your property’s appearance and extends the life of your investment. Regular maintenance after repair will keep your fence standing strong for years to come.
If you’re facing a particularly challenging fence situation or just prefer to leave it to the experts, we’re happy to help. Contact us for a free consultation on your fence repair needs.