How to Build a Wood Fence Gate
How to build a wood fence gate the right way starts with sound materials, strong hardware, and a square frame that resists sag. Here is why: Gates carry concentrated loads, see daily movement, and in Tampa they live with high humidity and coastal air. Smart choices at the start prevent warping, rust, and drag later.
Let’s break it down.
Plan the opening and the support
A gate is only as good as the posts that hold it. Set the hinge-side post deep, straight, and secure in concrete. Quikrete guidance calls for a hole three times the post diameter and a depth equal to one-third to one-half of the post’s above-ground height, with 6 inches of gravel at the bottom for drainage. Their Fast-Setting Concrete Mix data sheet also notes that fast-setting mixes reach handling strength in 20 to 40 minutes, with full design strength after curing.
Here is why this matters. A plumb, well-founded post keeps hinges aligned and the latch landing predictable. A shallow or loose post shifts under the gate’s weight, which shows up as latch misalignment and drag at the swing arc.
Checklist
- Measure the opening after posts are set and cured.
- Leave room for hardware and seasonal movement.
- In sandy soils common around Tampa, widen the footing and use a form if needed for stability.
Pro tip for Tampa homeowners
Use pressure-treated posts with the correct AWPA Use Category. The American Wood Protection Association (AWPA) explains that any component that contacts soil or traps moisture belongs in UC4A Ground Contact. AWPA’s homeowner guide confirms that even “above-ground” parts that trap debris or restrict airflow can face ground-contact hazards and should be treated accordingly (AWPA homeowner info).
Select wood that resists moisture and movement
Your frame and infill must handle daily sun, rain, and high ambient humidity. The USDA Forest Products Laboratory details how moisture cycling degrades unprotected wood and how exterior finishes protect against sunlight and water.
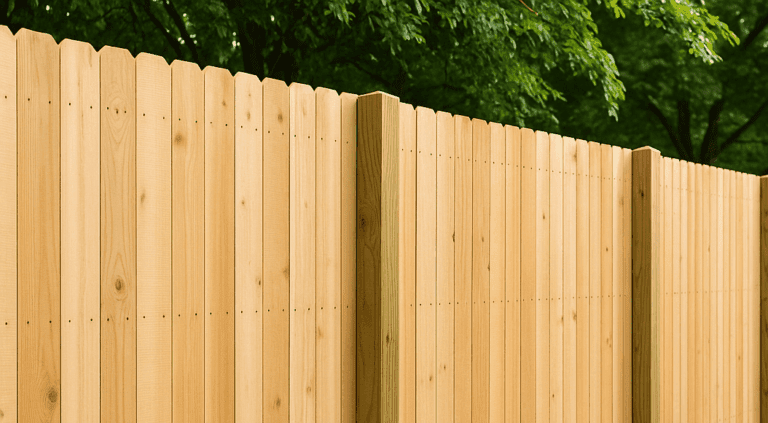
Good choices
- Cedar or redwood for rails, stiles, and pickets. These are naturally durable and finish well, as explained in the USDA Wood Handbook.
- Pressure-treated southern pine for posts and any ground-adjacent parts. Follow AWPA Use Categories as above.
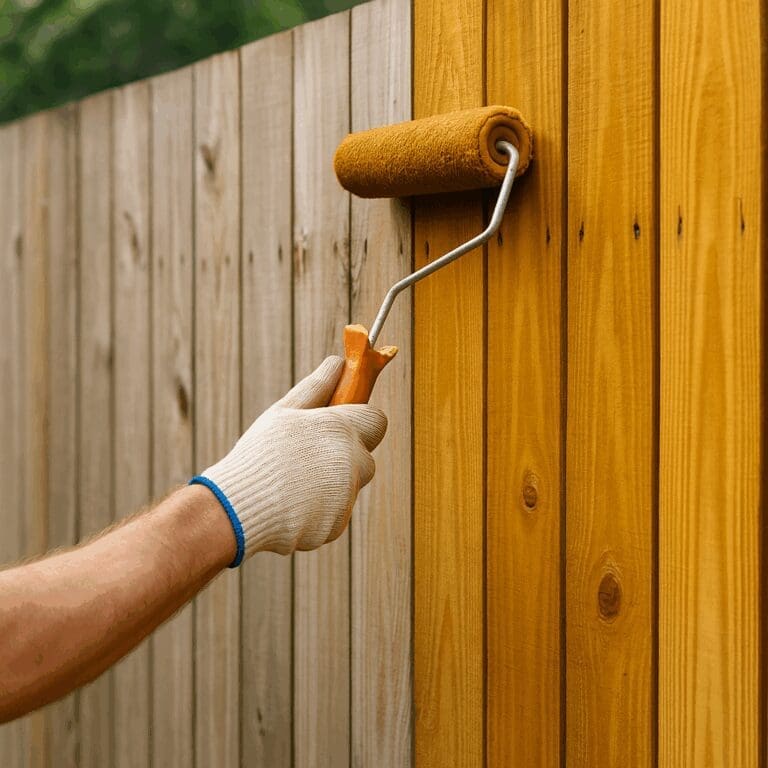
Finish early, and coat all sides
The USDA’s Wood Finishing Guide shows that sealing every face and cut end reduces moisture uptake and extends service life. Apply finish to every face and cut end, not just the front. Refresh finishes on a cycle that matches sun exposure and rainfall.
Fasteners and connectors
Treated lumber and coastal air increase corrosion risk. The American Wood Council (AWC) recommends stainless steel or hot-dip galvanized hardware, with stainless required within 300 feet of saltwater exposure. Their fastener corrosion FAQ warns that preservatives can be corrosive to unprotected steel, especially in coastal zones.
Choose hinges, latches, and bracing that prevent sag
A gate tries to sag over time. A strong frame, correct hinge rating, and proper brace orientation stop this.
Hinges
Select hinges sized for gate width, thickness, and weight. National Hardware publishes hinge families and sizing guidance for outdoor use, including heavy-duty strap and T-hinges designed for exterior gates. Look for stainless or hot-dip galvanized finishes.
Latches
Pick a latch that tolerates slight movement and closes securely from the approach you use most. A gravity or slam latch works well on pedestrian gates. Place the latch high enough for comfortable reach and child safety.
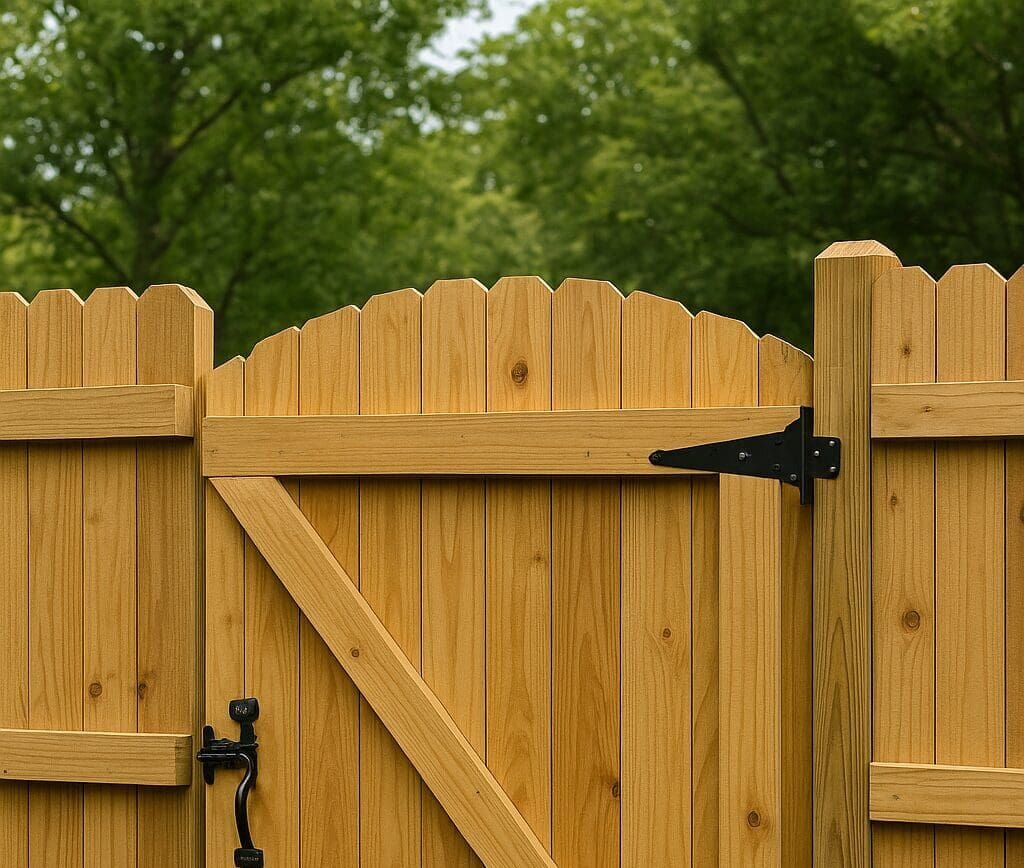
Bracing that works
A diagonal structural member takes the load that creates sag. Two reliable approaches exist:
- Compression wood brace from bottom hinge-side to top latch-side. The gate’s weight bears on the brace, pushing into the hinge-side stile.
- Adjustable tension cable brace from top hinge-side to bottom latch-side using a turnbuckle. Tighten to remove any droop.
The USDA Forest Service fencing guide illustrates diagonal bracing to keep openings square under load, and the same concept applies to wooden gate frames.
When to step up to a steel frame
For wider gates, or when you need a thin profile with high stiffness, a welded steel perimeter with wood infill reduces long-term deflection. Use stainless or hot-dip galvanized hardware where steel contacts treated wood to avoid dissimilar-metal corrosion and preservative reactions, consistent with AWC’s corrosion notes.
Cut list, tools, and layout
Materials
- Two stiles and two rails in 2×4 or 2×6, kiln-dried lumber
- One diagonal brace in 2×4 or a cable turnbuckle kit
- Pickets or boards to match the fence pattern
- Heavy-duty strap or T-hinges rated for gate width and weight
- Exterior-grade screws or hot-dip galvanized nails
- Latch set with strike
- Exterior stain or paint suitable for Florida weather
- Post anchors and fasteners in stainless or hot-dip galvanized
Tools
- Circular or miter saw
- Drill/driver and impact driver
- Square, level, and clamps
- Wrench for hinge bolts
- Brushes or sprayer for coatings
Layout tips
- Build the gate panel on a flat surface.
- Dry-fit parts and check both diagonals for equal length before fastening.
- Pre-finish parts when possible to protect hidden surfaces.
Build the frame square
- Rip and cut the rails and stiles to length.
- Assemble a rectangle with screws or exterior-rated pocket joinery. Clamp square and verify diagonals match.
- Install the diagonal brace. Use the compression wood brace orientation or the tension cable orientation described above. Pre-drill and fasten the brace into both rails and stiles.
- Sheath with pickets. Space boards for drainage and movement. Drill pilot holes near board ends to prevent splitting, following USDA recommendations.
Quality check
Measure diagonals again. If they differ, adjust clamps or tension the cable until they match. A square panel swings true, latches cleanly, and resists racking.
Hang the gate on a true hinge-side post
- Mark hinge positions on the post and gate stile. Keep hinges near the top and bottom third of the panel for leverage.
- Pilot-drill and install hinge screws or bolts. Use washers as needed.
- Mount the gate with shims under the bottom edge to set ground clearance. Leave extra clearance if the yard rises on the swing path.
- Set the latch and strike. Close the panel gently, mark the strike, and fasten. Test from both sides.
Hardware environment
In coastal or salt-influenced zones, select 304 or 316 stainless steel for fasteners and connectors. The AWC deck guide calls for stainless fasteners within 300 feet of saltwater, and the same standard protects Tampa-area gates.
Finish for Florida weather
The USDA Forest Products Laboratory’s exterior finishing guide outlines finish systems that repel water and block sunlight. Penetrating stains and film-forming coatings both work if maintained.
Simple plan
- Sand sharp edges; coatings last longer on eased corners.
- Apply stain or paint to all sides and ends before installation.
- Seal cut ends and fastener holes.
- Re-coat based on exposure—south and west sides often need it sooner.
Why this matters
Coatings slow moisture cycling, which reduces swelling, shrinking, and checking. Gates swing better and hardware stays aligned.
Maintenance that keeps a gate square
- Inspect hinges and latch each season. Tighten loose fasteners.
- Watch for sag. If you installed a cable brace, give the turnbuckle a quarter-turn to correct alignment.
- Check ground clearance. Trim the bottom edge if turf rises.
- Refresh finish when water stops beading on the surface.
According to the USDA’s finishing research, proactive recoating extends service life and reduces repair cycles.
Safety, codes, and materials checks
- Treatment tag: Look for the end-tag on treated lumber. The AWPA advises verifying the Use Category and quality mark from an accredited agency. UC4A is required for ground contact or where debris traps moisture.
- Fastener compatibility: Match fasteners to exposure level. The AWC notes that preservatives accelerate corrosion on unprotected metals; stainless or hot-dip galvanized hardware prevents it.
- Wind awareness: Tampa experiences tropical storms and high gusts. FEMA’s severe-wind guide and Florida Recovery Advisory recommend securing exterior features and using hardware that resists wind pressure.
When DIY does not pencil out
Some gates are simple. Others are not. Consider hiring a professional when:
- The gate opening is wider than 48 inches.
- The terrain slopes, or the soil is sandy or wet.
- You need an automated or double gate.
- You’re near the coast where salt corrosion is a concern.
- You want full warranty coverage and no hassle.
Local Choice Fence designs and installs wood fence gates across the Tampa area. We set posts deep in sandy soil, use hurricane-rated hardware, and guarantee every swing is smooth and square. Contact us for a free on-site quote.
Step-by-step summary for reference
- Plan the clear opening and swing direction.
- Set posts per Quikrete specifications and brace plumb while curing.
- Choose UC4A-treated wood (AWPA).
- Select cedar, redwood, or treated pine for the panel (USDA Wood Handbook).
- Use stainless or hot-dip galvanized hardware (AWC Deck Guide).
- Build the frame square and add a compression or tension brace (USDA Fence Guide).
- Hang the gate with even gaps and secure the latch.
- Seal all ends and maintain the finish (USDA Finishing Guide).
- Inspect hardware and finish each season.
Frequently asked questions
How much ground clearance should I leave under the gate?
Leave one to two inches for level areas and more for sloped or grassy paths. Test the full swing before installing the latch.
Do both posts on a double gate need concrete?
Yes. Treat both hinge-side posts as primary supports and set them in concrete according to Quikrete’s post-setting guide. Add a center stop or drop rod to keep both leaves aligned.
Which finish lasts longer in Florida?
Film-forming coatings last longer when maintained but need more prep when recoating. Penetrating stains are easier to refresh. The USDA finishing research outlines these differences.
Why does stainless hardware matter inland?
Salt travels through the air. The AWC’s coastal standard (300 feet from saltwater) is a good rule of thumb for all Florida homes. Stainless also prevents chemical corrosion from treated wood preservatives.
Final Notes
If this feels like a weekend you’d rather not spend mixing concrete and aligning hinges, Local Choice Fence can handle the work. We build wood fence gates that stay straight, swing clean, and stand up to Florida weather. Contact us today for a free site visit and estimate in the Tampa Bay area.