How to Trace a Fence: A Professional Guide
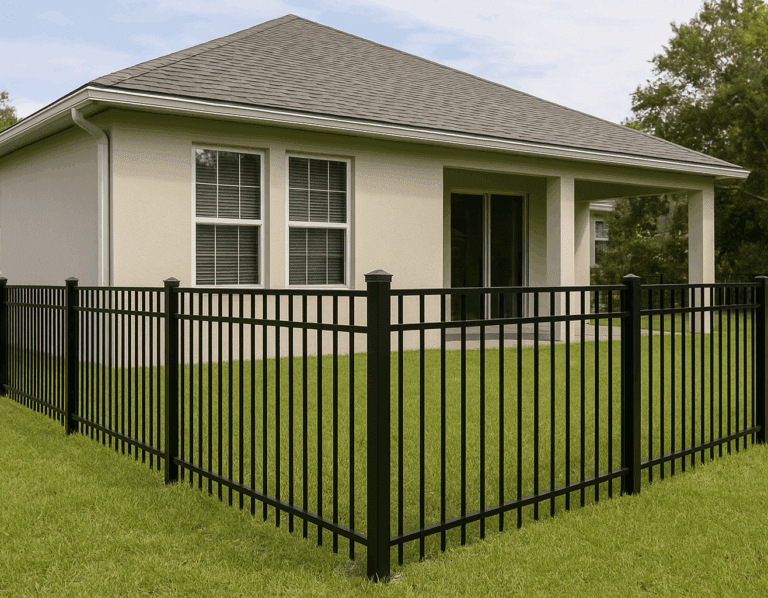
Getting your fence line right the first time saves headaches down the road. After installing thousands of fences, I’ve learned that proper tracing makes the difference between a professional-looking fence and one that looks like amateurs installed it.
Before You Start
You’ll need several tools to trace your fence properly:
- String lines and stakes
- Measuring tape (100 feet minimum)
- Post hole digger or shovel
- Spray paint or marking flags
- Compass
- Level
- Property survey documents
Finding Your Property Markers
Start by locating your property line. It’s usually marked by small metal pins that sit at your lot corners, sometimes buried under a few inches of soil. A metal detector can help, but you might need a professional surveyor if you can’t find them.
I’ve seen plenty of folks skip this step. Big mistake. Last month, we had to remove an entire fence because someone guessed their property boundary.
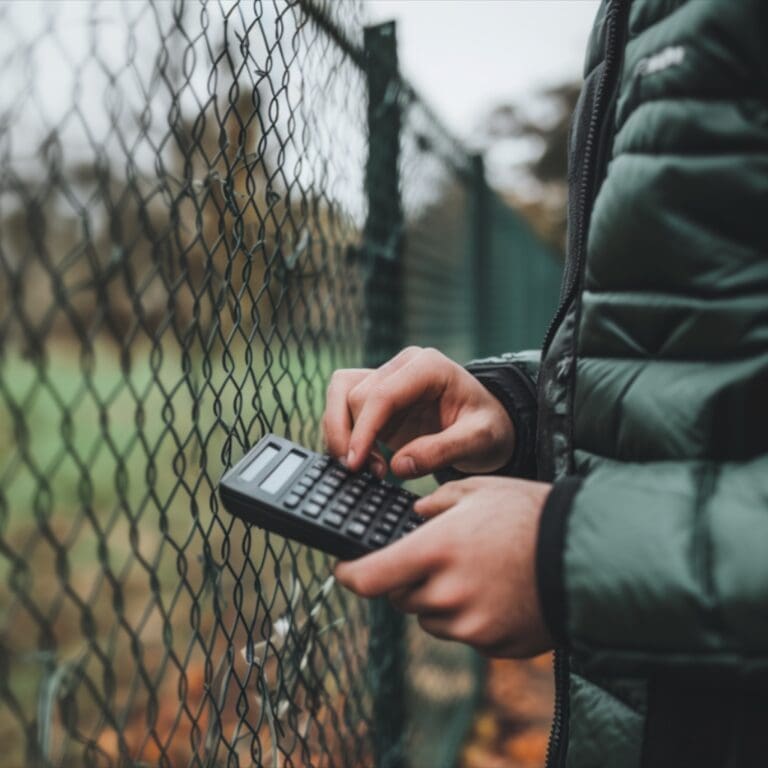
Measuring and Marking
Once you’ve found your markers, measuring your fence line becomes pretty straightforward.
Drive stakes at each corner post location. String a line between them, pulled tight. This creates your basic fence layout.
For straight-line sections, we use the “3-4-5 rule” for checking square corners:
- Measure 3 feet along one line
- Measure 4 feet along the perpendicular direction
- The diagonal should be exactly 5 feet
Dealing with Slopes
Slopes or uneven ground need extra attention during the tracing phase. You have two options.
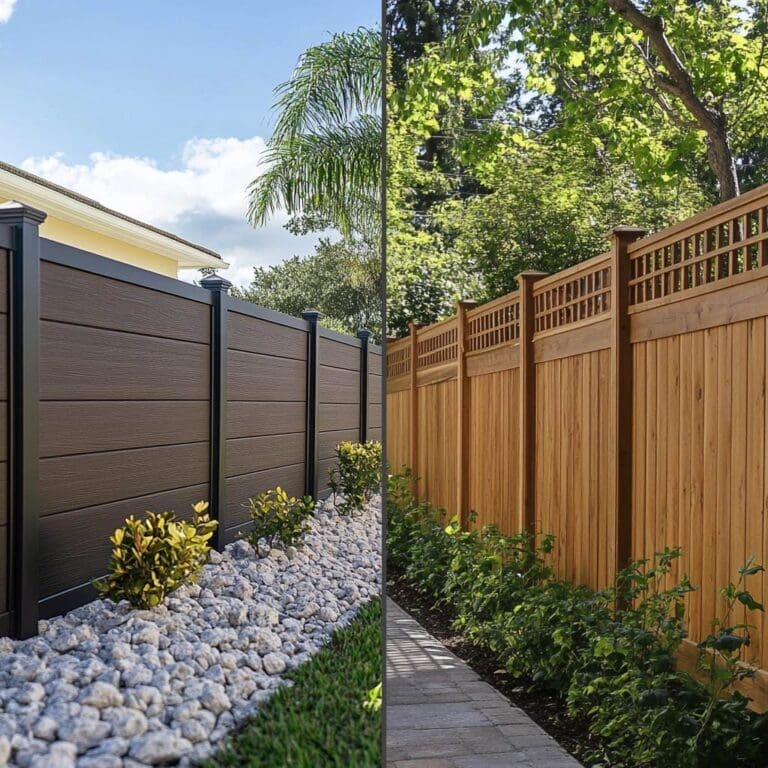
- Stepping method: Each fence section stays level but steps down the slope. Works great for privacy fences.
- Racking method: The fence follows the slope angle. Better for wire fencing or ornamental styles.
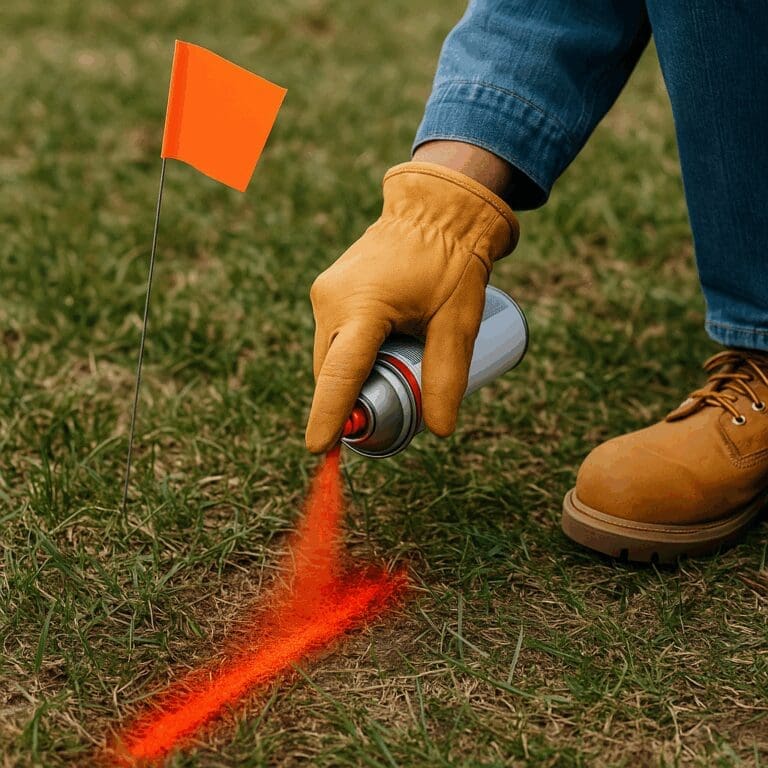
Marking Your Posts
With your fence line established, it’s time for marking fence posts. We space them typically:
- 6 to 8 feet apart for privacy fences
- 8 to 10 feet for chain link
- 10 to 16 feet for wire fencing
Use spray paint or marking flags to indicate each post location. Don’t forget to mark your gate positions too. If you’re unsure what spacing works best for your project, check out our full guide on fence post spacing.
Working with Neighbors
Before you start digging, talk to your neighbors. Show them your planned fence alignment. Most fence disputes happen because someone skipped this step.
I remember one job where we had to move an entire fence line 6 inches because the neighbor wasn’t consulted first. Not fun.
Special Considerations
Underground utilities matter. A lot. Call your local utility locating service before you dig. They’ll usually mark underground lines for free.
Some other things to watch for:
- Tree roots (they can force you to adjust your fence line)
- Drainage patterns
- Local setback requirements
- Easements
Common Mistakes to Avoid
After years in the fence business, these are the tracing mistakes I see most often…
Not accounting for grade changes. Your fence might look straight on paper, but ground variations can throw everything off.
Eyeballing instead of measuring. Trust me, your eyes aren’t as accurate as you think.
Forgetting about gates. Plan their location first – they often determine your whole layout.
Professional Tips
Below are a few tips to ensure accurate tracing.
Double-check all measurements. Measure twice, dig once isn’t just a saying.
Use temporary stakes and string to visualize the finished fence. Walk the line several times, looking from different angles.
Take photos of your layout before digging. They’re helpful if you need to make adjustments.
Mark your post locations with different colors for:
- Corner posts (red)
- Line posts (white)
- Gate posts (yellow)
When to Call a Professional
Some situations really need a professional fence company’s help—like unclear property lines, strict HOA rules, or complex terrain. If you’re in an area like Land O’ Lakes with large lots and varied elevation, having an expert on site can save you costly rework.
Final Practical Advice
Take your time with planning. It’s the foundation of your entire fence project.
Keep good records of your measurements and markers. You might need them later.
And maybe the most important tip: if something doesn’t look right, stop and recheck. Making corrections during the tracing phase is much easier than fixing a poorly installed fence.
Remember, a well-traced fence line makes the actual fence installation go smoothly. It’s worth spending extra time getting your layout perfect before the first post hole is dug.